
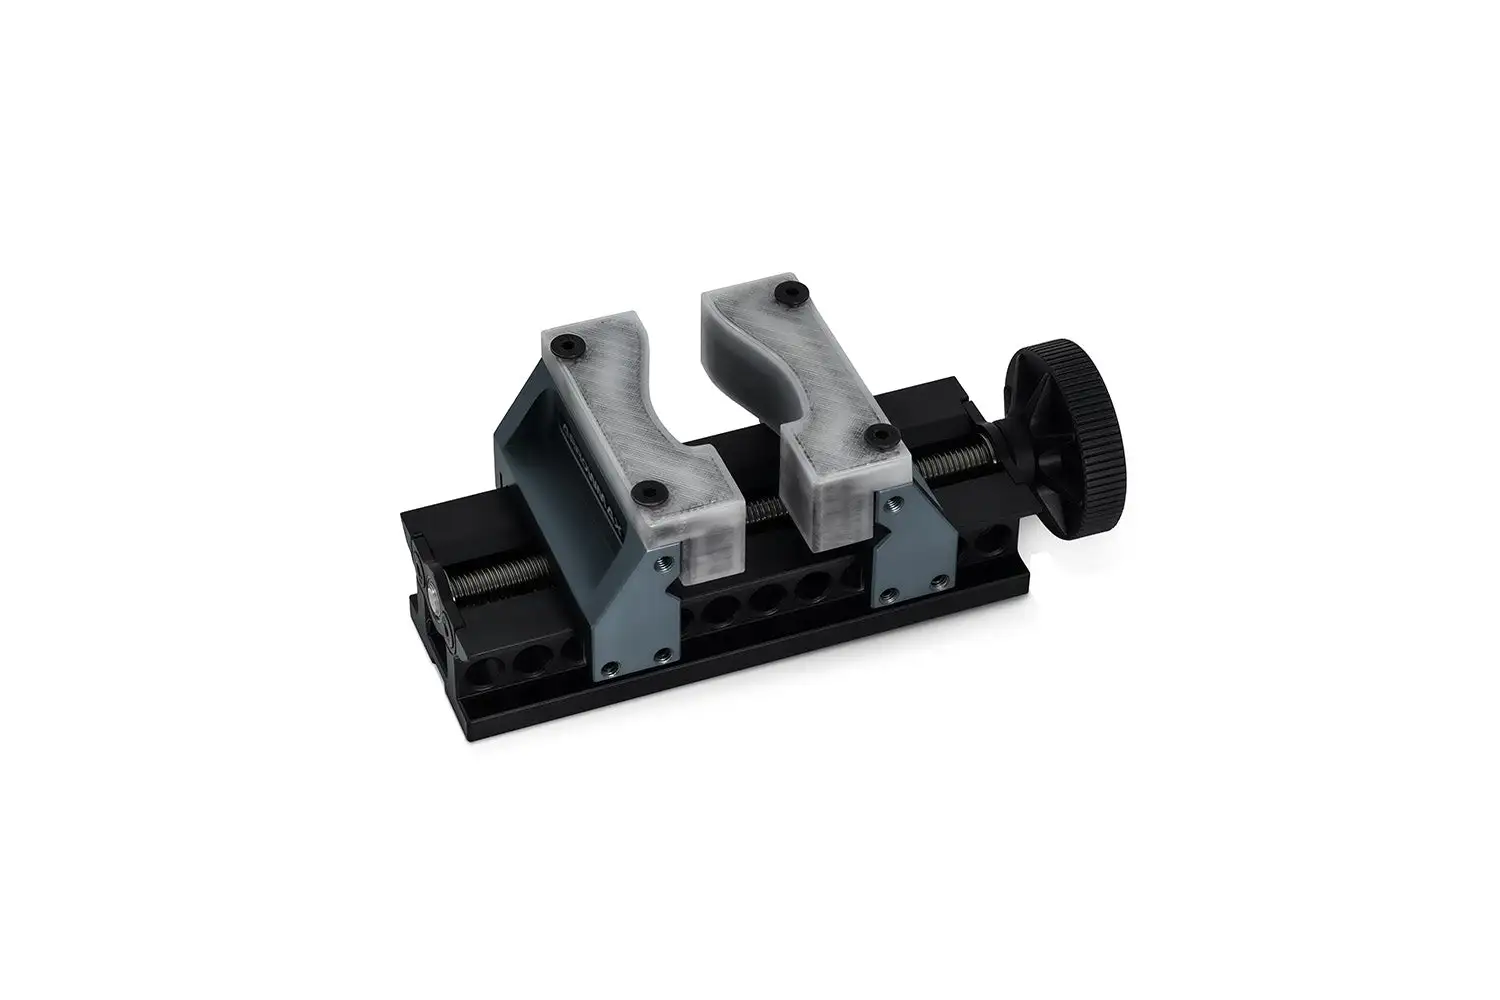
Brackets, mounts and shop-floor fixtures are the parts most engineering teams print first, and for good reason: they are simple shapes, they are needed in small numbers, and waiting a week for a machined part holds up the line. The question is whether a printed bracket is strong enough. With plain plastic it often is not. With continuous carbon fiber inside the part, it often is. This guide covers when a printed bracket or fixture can replace a machined one, how to design it, and what it costs.
Why brackets and fixtures are the right first parts
- Low volume. One to fifty pieces, where machining setup and lead time cost more than the material.
- Fast iteration. A fixture that does not fit can be changed in CAD and reprinted the same day.
- Clear load cases. A bracket carries a known load from known bolt holes, so you can test it directly.
- Weight matters. On robots, drones, vehicles and end-of-arm tools, every gram saved on a bracket is payload or speed.
Printed bracket vs machined aluminum
The manufacturer of the FibreSeeker 3 compared the same bracket made two ways. These are the manufacturer’s figures; your results depend on geometry, fiber routing and print settings.
| CNC 6061 aluminum | FibreSeeker 3 with X-CCF continuous carbon fiber | |
|---|---|---|
| Strength | 290–310 MPa | up to 900 MPa |
| Weight | ≈260 g | ≈150 g |
| Cost | ≈$130 | ≈$9 |
| Lead time | 3–7 days | 6–9 hours |
The strength figure is along the fiber. A printed composite is strong where the fiber runs and much weaker across layers, which is why the design rules below matter more than the headline number.
When a printed bracket is the right choice — and when it is not
| Good fit | Think twice |
|---|---|
| Bending and tension loads you can route fiber along | High loads across the layer lines (peel between layers) |
| Room-temperature or moderately warm environments | Parts near engines, ovens or hot tooling — check the heat limit of the base plastic |
| Mounts, brackets, clamps, drill guides, assembly and inspection fixtures | Safety-critical or certified flight parts without your own testing |
| Parts that need to be light, or electrically insulating (glass fiber) | Tight tolerances on large flat faces without a finishing step |
How to design a continuous fiber bracket
Put the fiber where the load goes
Continuous fiber works like rebar. For a bracket loaded in bending, fiber in the outer walls and the top and bottom layers does most of the work. Fiber in the middle of the part adds weight and print time without adding much strength.
Ring the bolt holes
Bolt holes are a common weak point. Loops of fiber around each hole spread the load into the rest of the part. Leave enough wall around the hole for several fiber rings.
Avoid sharp inside corners
Fiber cannot turn a sharp corner. Add fillets so the fiber path can follow the shape, and so stress does not concentrate in the corner.
Use inserts for threads
Printed threads wear quickly. Heat-set or press-fit metal inserts give reliable threads in fixtures that are assembled and taken apart often.
Orient for the load
Fiber is laid in each layer, so the strongest direction is in the plane of the layers. Orient the part on the bed so the main load runs along the layers, not across them.
Jigs and fixtures: what teams print
- Drill and assembly guides that locate holes and parts on the line.
- Inspection gauges and go/no-go fixtures shaped to the part.
- Soft jaws and clamping fixtures for CNC and assembly; continuous fiber keeps them from flexing under clamping force.
- End-of-arm tools and grippers for robots, where low weight increases speed and payload.
- Sensor, camera and cable mounts on machines and vehicles.
For alignment-only fixtures that see little load, a chopped carbon fiber filament such as PA-CF is often enough. For clamping, lifting or bolted structural brackets, continuous fiber is the step up. Our guide to carbon fiber 3D printers explains the difference.
Carbon fiber or glass fiber?
Continuous carbon fiber (X-CCF) gives the highest stiffness and strength. Continuous glass fiber (X-CGF) costs less per spool and is electrically insulating, which suits fixtures around electronics and welding. Both run on the same printer.
What a printed bracket costs
Most of the cost is the fiber and plastic in the part. A 500 m spool of X-CCF continuous carbon fiber is $65 and a spool of X-CGF continuous glass fiber is $50. The printer itself, the FibreSeeker 3, starts at $2,999.
Frequently asked questions
Can a 3D printed bracket replace an aluminum one?
Often, yes, when the load runs along the fiber and the part stays within the temperature limit of the plastic. Print one, load-test it in place, and compare with the machined part before switching.
How strong is continuous carbon fiber 3D printing?
The FibreSeeker 3 manufacturer quotes up to 900 MPa tensile strength along the fiber for X-CCF parts, compared with 290–310 MPa for 6061 aluminum. Strength across layers is much lower, so design and orientation decide the result.
What printer do I need for carbon fiber brackets and fixtures?
For chopped carbon fiber filaments, an enclosed FFF printer with a hardened nozzle. For continuous fiber, a printer built for it, such as the FibreSeeker 3. See our carbon fiber 3D printers.
How long does it take to print a bracket?
In the manufacturer’s bracket example, 6–9 hours, compared with 3–7 days to get a machined part. Print time depends on size and how much fiber the part uses.
Try it on your own part
Additive Plus sells and services the FibreSeeker 3 in the US, with fiber and spares in US stock. Book a 30-minute live demo and bring a bracket or fixture you want to replace.
Have a question or a project? Let’s talk.
Tell us what you need — a real applications engineer replies within 24 hours. NDA on request, no sales script.