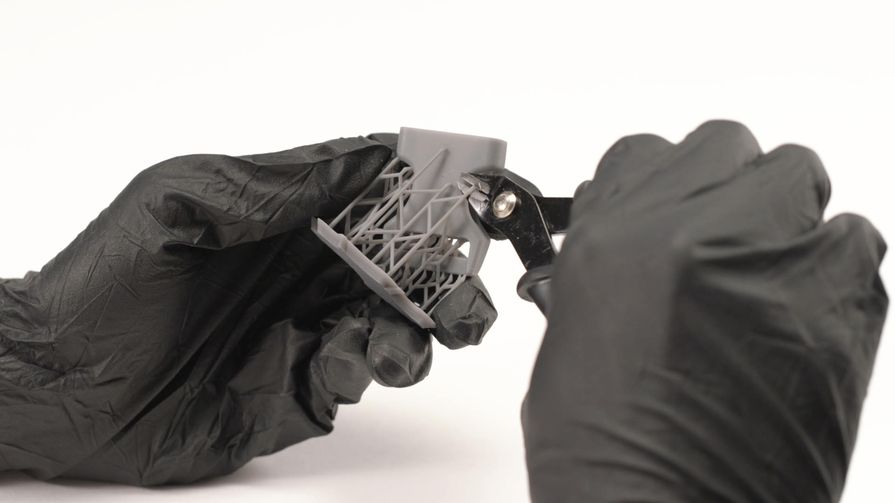
3D Printing: How to Make Supports Easy to Remove for Flawless Prints
-
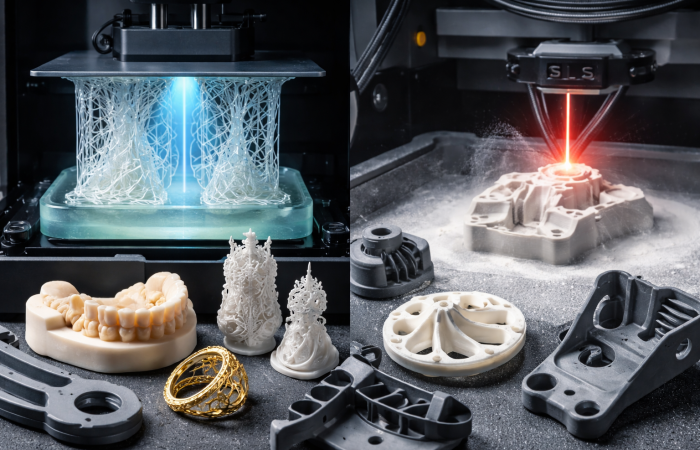
Rapid Resin 3D Printing for Functional Prototypes & High-Detail Models
Ultra-precise resin 3D printing for detailed prototypes with smooth surfaces and fine features.

-
Bambu Lab P1S Combo
Enjoy effortless 3D printing and great all-around quality.
-
Technology:
FFF
-
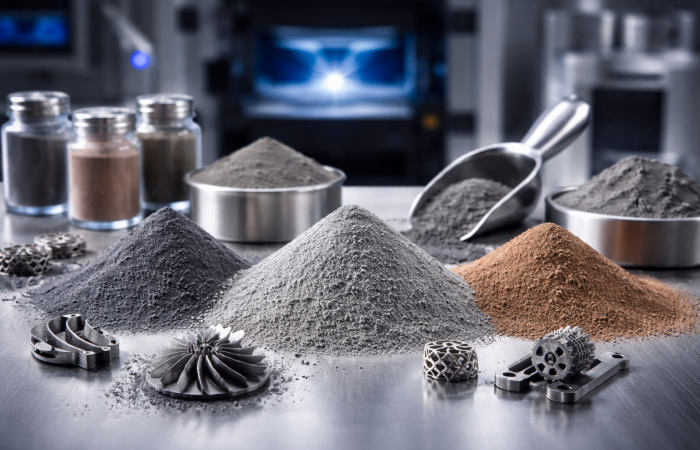
Materials:
Plastic Filaments

-
Technology:
-
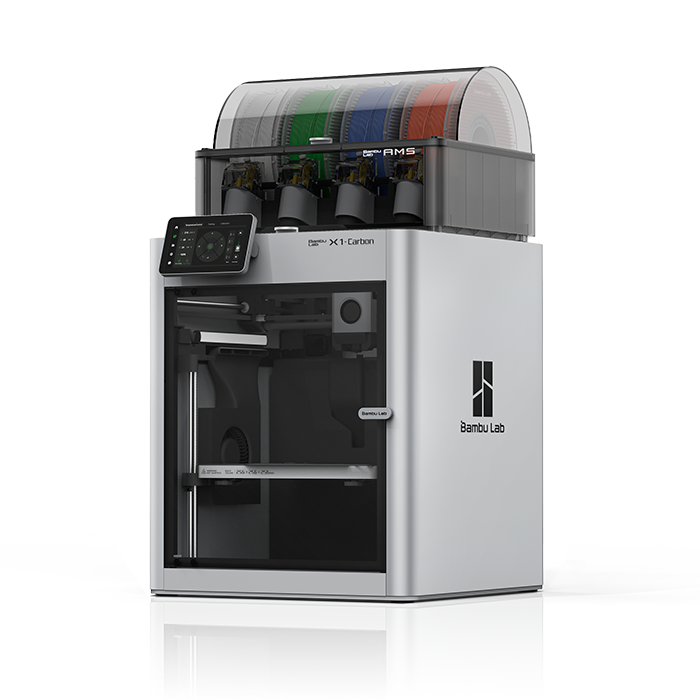
Bambu Lab X1-Carbon Combo
Equipped with extra cooling and a hardened nozzle.
-
Technology:
FFF
-
Materials:
Plastic Filaments
-
Technology:
Related Posts